
Yeah, the title is a bit clickbaity, so if you are too sensitive, please stop reading, because the article won’t explain to you all the details of the mentioned feature of Snowflake. But despite that, it will show some interesting things that are not mentioned in the documentation and it will help to answer at least one question in the certification exam. So, I think it’s worth giving it a few minutes of your time.
Intro
Snowflake is an advanced data platform provided as Software-as-a-Service (SaaS). It enables data storage, processing, and analytic solutions that are faster, easier to use, and far more flexible than traditional offerings. Snowflake isn’t a service built on top of Hadoop or Spark or any other “big data” technology, it is a completely new SQL query engine designed for the cloud and cloud-only. To the user, Snowflake provides all of the functionality of an enterprise analytic database, along with many additional special features and unique capabilities.
In this article, we won’t go into explaining what Snowflake is but will be more specific about one of the cool features of this data platform, which is Time Travel. Let me know in the comments if you want a brief overview of this product or maybe some explanation of its other features.
Time travel
Snowflake Time Travel enables to query data as it was saved at a particular point in time and roll back to the corresponding version. It means that the intentional or unintentional changes to the underlying data can be reverted. Time Travel is a very powerful feature that allows:
- Query data in the past that has since been updated or deleted.
- Create clones of entire tables, schemas, and databases at or before specific points in the past.
- Restore tables, schemas, and databases that have been dropped.
To support Time Travel, the following SQL extensions have been implemented:
- AT | BEFORE clause which can be specified in SELECT statements and CREATE … CLONE commands (immediately after the object name). The clause uses one of the following parameters to pinpoint the exact historical data you wish to access:
- TIMESTAMP
- OFFSET (time difference in seconds from the present time)
- STATEMENT (identifier for statement, e.g. query ID)
- UNDROP command for tables, schemas, and databases.
A key component of Snowflake Time Travel is the data retention period. When data in a table is modified, including deletion of data or dropping an object containing data, Snowflake preserves the state of the data before the update. The data retention period specifies the number of days for which this historical data is preserved and, therefore, Time Travel operations (SELECT, CREATE … CLONE, UNDROP) can be performed on the data.
By default, the data retention period is set to 1 day and Snowflake recommends keeping this setting as is to be able to prevent unintentional data modifications. This period also can be extended up to 90 days, but keep in mind that Time Travel incurs additional storage costs. Setting the data retention period to 0 will disable Time Travel. This feature can be enabled/disabled on account, database, schema or table level.
After the retention period expired the data is moved into Snowflake Fail-Safe and cannot be restored by the regular user. Only Snowflake Support can restore the data in Fail-Safe.
Querying historical data
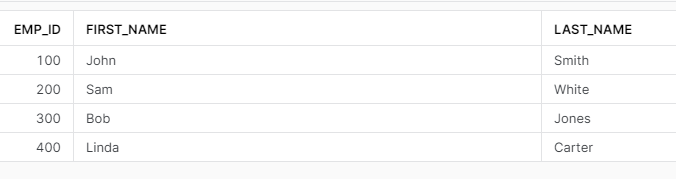
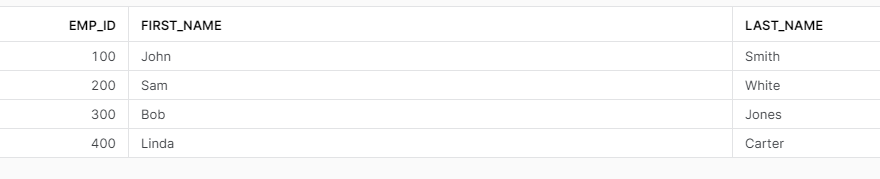
When any DML operations are performed on a table, Snowflake retains previous versions of the table data for a defined period of time. This enables querying earlier versions of the data using the AT | BEFORE clause. Now let’s see the examples. For the sake of this article, we will create a separate DB in Snowflake, a table and fill it with some seed values. Here we go:

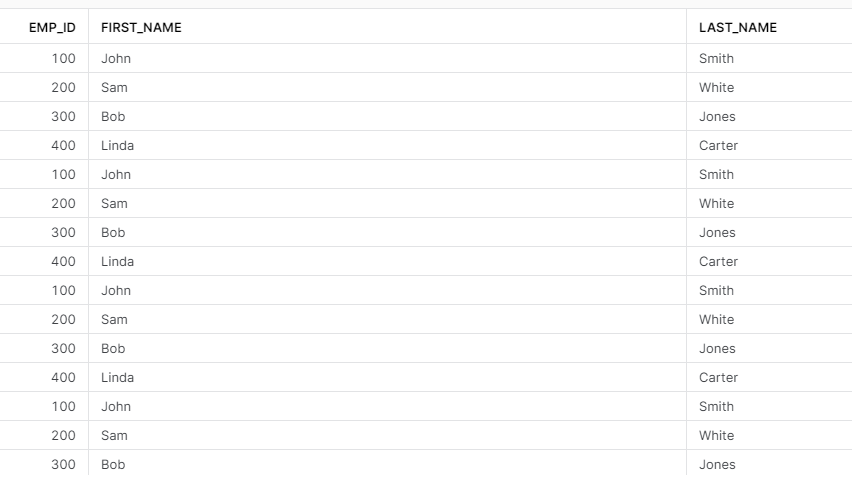
And we have our seed records. Now let’s add some duplicates.

Having duplicates in our table isn’t a good idea, so we can use Time Travel to see how the data was looking before dups appeared. As was mentioned before there are few different methods to do that, let’s check them all.

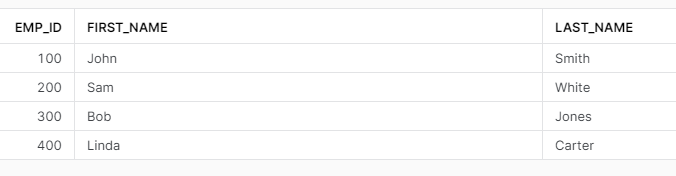
As you can see we are back to the first version of the data! Next queries will return the same result.
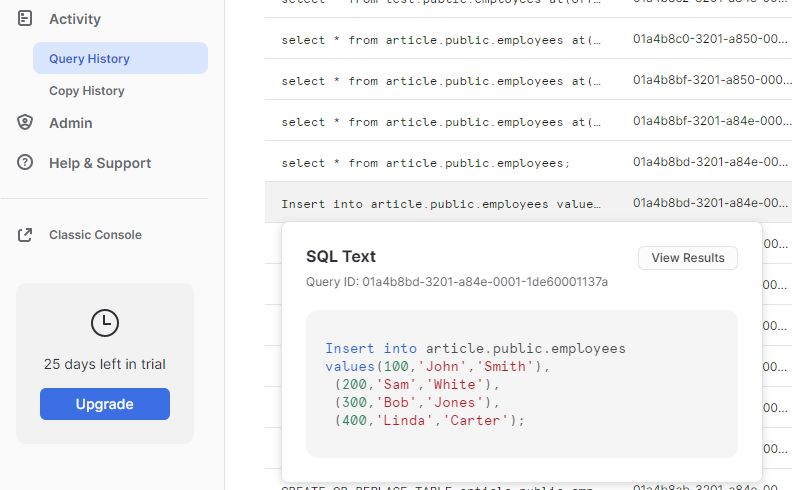
Also, it is possible to restore the data before the change happened by finding the Query ID that introduced mentioned change. We can find it on the “Query History” tab in “Activity”.
Cloning historical data
There is another feature in Snowflake that is worth investigating – Zero-Copy Cloning. Basically, it creates a copy of a database, schema or table. A snapshot of data present in the source object is taken when the clone is created and is made available to the cloned object. The cloned object is writable and is independent of the clone source. That is, changes made to either the source object or the clone object are not part of the other. Cloning in Snowflake is zero-copy cloning, meaning that at the time of clone creation the data is not being copied and the newly created cloned table references the existing data partitions of the mother table. But it is worth another article, so at the moment brief intro and later we will dig deeper.
Cloning with Time Travel works using the same parameters:
The results of SELECTs are the same:
Dropping and Undropping
When a table, schema, or database is dropped, it is not immediately overwritten or removed from the system. Instead, it is retained for the data retention period for the object, during which time the object can be restored.
To drop a table, schema, or database, the following commands are used:
- DROP TABLE
- DROP SCHEMA
- DROP DATABASE
To undrop a table, schema, or database:
- UNDROP TABLE
- UNDROP SCHEMA
- UNDROP DATABASE
This is actually where the fun comes. Let’s start with a simple example and then go into the woods.
Simple example:
DROP TABLE restored_table;

The dropped tables can be seen by using the command:
SHOW TABLES HISTORY;
In the results of the SHOW TABLES HISTORY in the column “dropped_on” the last time the table was dropped will be shown. If the value for the corresponding table in this column is NULL it means that the table is up and running. Dropping and undropping the same table multiple times will not create additional records in this view, only the timestamp in “dropped_on” will be updated.
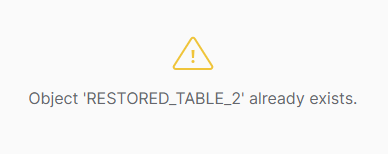
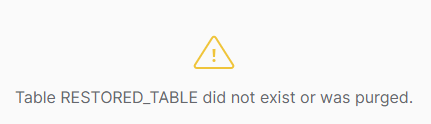
But if a table is dropped and then a new table is created with the same name, the UNDROP command will fail, stating that the table exists.
As you can see in the screenshot above there are two tables restored_table_2, but one of them has a timestamp value in the column “dropped_on”. This is because the first time I ran the query to create this table I used the wrong schema, so I ran CREATE OR REPLACE TABLE … command, which actually dropped a wrong table and created a new one with the same name. So if now I try to UNDROP the old table with wrong records, the query will fail as stated earlier.
But it doesn’t mean that the data from the previous table is lost. As we saw earlier, we still can see 2 tables in SHOW TABLES HISTORY. In order to restore the original (or in this case wrong) table, the newly created table has to be renamed:

And now the UNDROP will work.
UNDROP TABLE restored_table_2;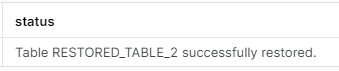
And we can see the wrong records I added to this table:
Now, I hope you won’t do such a thing, but here we saw what happens if you drop a table and then create a totally new one with the same name and still we can recover an old table. So what happens if you drop this new table and then create again a new one again with the same name? Will you be able to recover the data from the most ancient table? The answer is yes. It will take some effort, but it is possible. This is how our SHOW TABLES HISTORY looks like right now, we have 5 tables, and all are up and running:

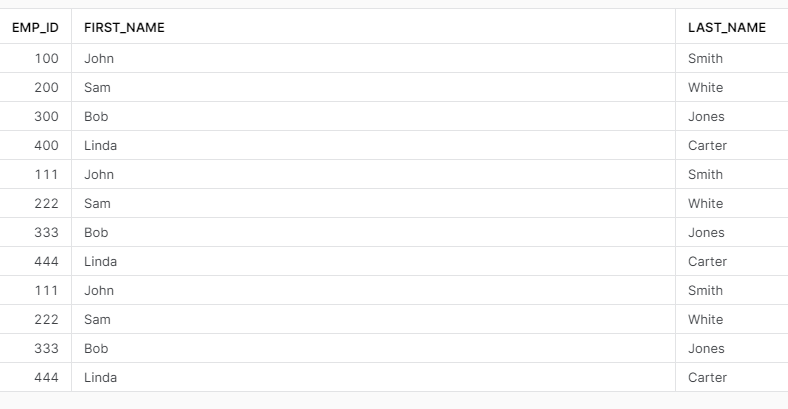
Let’s drop restored_table and create it again using the same command and add a few new records to it:

SHOW TABLES HISTORY;
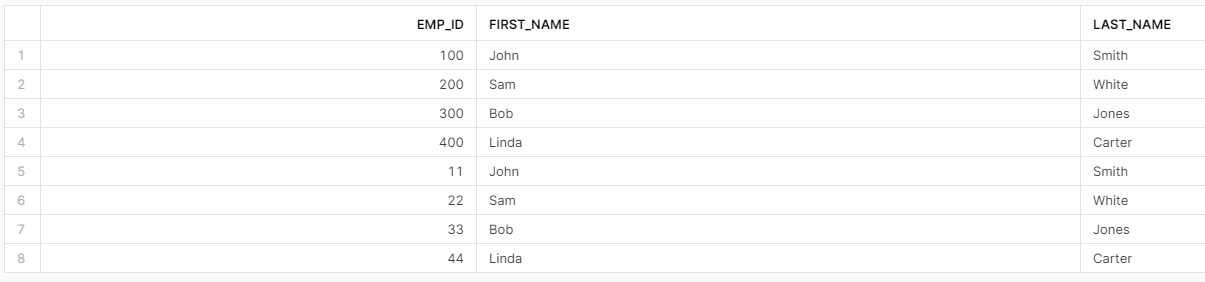
And now we go further and drop again restored_table and create a new one.
SHOW TABLES HISTORY;
To restore the first table that was dropped we will need to go through a set of renamings. Our original table had 4 rows. Let’s go. Restore the second table.
Restore the original table and rename it to v1
SHOW TABLES HISTORY;
And here we are, with all the versions of our data restored. As you can see in Snowflake it becomes obsolete the creation of different versions of the tables as you can always go back in time, but be careful with the data retention period – if it’s expired you cannot get your data back that easily.
In the end, Time Travel is a very powerful tool for:
- Restoring data-related objects (tables, schemas, and databases) that might have been accidentally or intentionally deleted.
- Duplicating or backing up data from key points in the past.
- Analyzing data usage/manipulation over specified periods of time.
Hope you find it useful 😉 see ya in the next one 😉
Photo by Maddy Baker on Unsplash